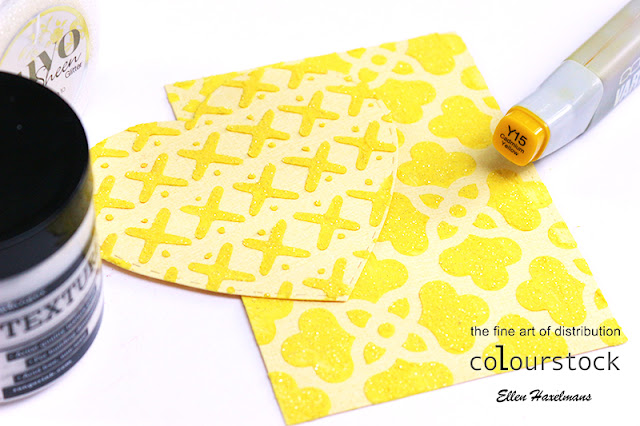
Hello everyone, today I show a small but nice tutorial for Colourstock. Below I show how a "Copic Marker Refill" gives color to your "Texture Paste". Just for clarification Texture Paste is a thick paste, which makes it stands out in relief with the aid of a template on your surface. * Hallo iedereen, vandaag heb ik een kleine maar leuke tutorial gemaakt voor Colourstock. Hieronder toon ik, hoe je met een "Copic Marker Refill" kleur geeft aan je "Texture Paste". Even ter verduidelijking Texture Paste of structuurpasta is een dikke pasta, waarmee je met behulp van een sjabloon een reliëf aanbrengt op je ondergrond.

1. The most used is the white structure paste. It seemed nice to give it a color. I smeared some paste on my Craft Sheet and dropped six ink droplets fall out of the refill / vial.
Then mix the drops with the jelly with a spatula. The more ink you use the darker the paste is of course. * 1. Het meest gebruikt is de witte structuurpasta. Het leek me leuk om dit een kleur te geven. Ik smeerde wat pasta op mijn Craft Sheet, liet hierop 6 druppeltjes inkt uit het refill/flesje vallen. Meng vervolgens de druppels met de gelei met een spatel. Hoe meer inkt van je gebruikt hoe donkerder de pasta wordt natuurlijk.
2. Then I used some white glitter to give the paste a little diva content hihi. * 2. Daarna gebruikte ik nog wat witte glitter om de structuurpasta nog een beetje diva gehalte te geven hihi.
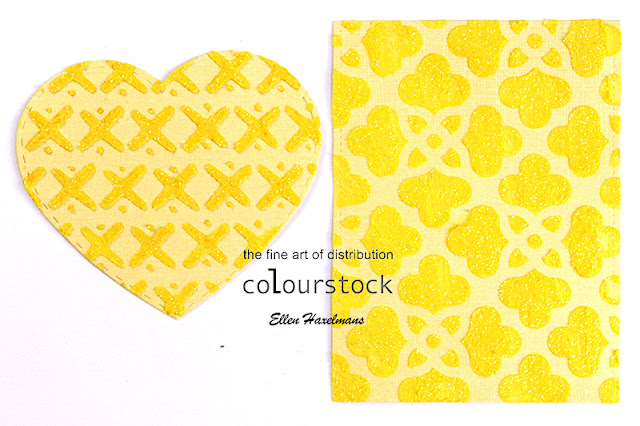
3. As a final step I was looking for a paper that matched the color of my ink. Then I put the colored paste on it with a template. Now I have a nice background for my next card. * 3. Als laatste stap zocht ik een papiertje dat paste bij de kleur van mijn inkt. Daarop bracht ik de op gekleurde pasta met een sjabloon aan. Nu heb ik een mooie achtergrond voor een kleurwerk.
This is the final result: * Dit is het uiteindelijke resultaat:

See you on Monday with the new Newton's Nooks release!! * Tot maandag met de nieuwe Newton's Nooks release!!


Love this design and colors!
BeantwoordenVerwijderenlove it...
BeantwoordenVerwijderenThank for explaining how you create these backgrounds, they are terrific!
BeantwoordenVerwijderen