
Today is my mothly post for Newton's Nook Designs. If you saw the release from last time you know NND release dor the very first time hot foil products. Of course I need to include them on this card. * Vandaag toon ik mijn maandelijkse blog post voor Newton's Nook Designs. Als je de laatste release zag, zag je vast ook de hot foil producten! Natuurlijk wil ik deze nog gebruiken op mijn kaartjes.

1. First I did cut the largest frame of the “Frames and flags” die set and used the “Cloud” stencil to create a pretty background. I start inking the panel at the bottom (tip start blending of the edge of the stencil for the best results and a smoother blend). Once you have inked the first cloud, move the stencil strip up and start inking again and keep repeating this until you have filled the panel.
* 1. Eerst heb ik het grootste frame uit de "Frames and Flags" stansset gesneden en de "Cloud" stencil gebruikt om een mooie achtergrond te creëren. Ik ben vervolgens begonnen met onderkant van het paneel kleur te geven met inkt (tip begin met blenden van de rand van de wolken sjabloon voor het beste resultaat en een legale blend). Zodra je de eerste wolk hebt gemaakt, verplaats je de sjabloonstrook naar boven en begin je opnieuw met inkten en blijf dit herhalen totdat je het paneel hebt gevuld.
Turn on your hot foil machine and let it warm up. Lay your hot foil plate on themachine and trim your foil a little bigger than your hot foil plate.When the green button of the machine turns on, place the foil pretty side down on top of the plate. Than you place your cardstok on top. As last step you place the shim and acrylic slate on top of the cardstock. After pressing the timer button, the light slowly will stop blinking, now you can roll the sandwish true a die cutting machine.
Zet je hot foil machine aan en laat hem opwarmen. Leg je hot foil plaat op demachine en snij je folie iets groter dan je hot foilpaneel.Wanneer de groene knop van de machine aangaat, leg je de folie met de mooie kant naar beneden op de plaat. Vervolgens leg je je cardstock erop. Als laatste stap plaats je de shim en plexi paneel bovenop het cardstockpapier. Nadat je op de timerknop hebt gedrukt, stopt het lampje langzaam met knipperen, nu kun je de sandwish door een stansmachine rollen.
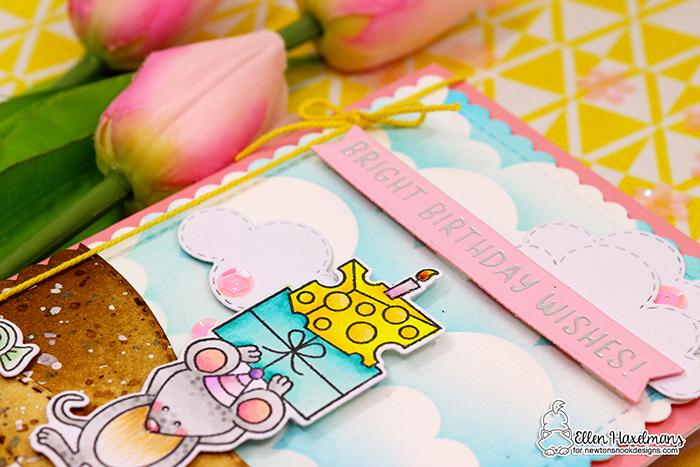
* 3. Ik heb de afbeeldingen als laatste ingekleurd. Hier gebruikte ik de Birthday Mice stempels en dies & Newton's Candy Cane stempels.
COPIC COLOR SWATCH:Violet/violette: RV34, RV32, RV00Purple/paars: V04, V01, V000Brown/bruin: E25, E23, E21Yellow/geel: YR18, YR13, YR06, YR20Teal/appelblauwzeegroen: BG49, BG15, BG32, BG11, BG10

Be sure to check out the Newton's Nook Designs blog for more inspiration! * Bekijk zeker de Newton's Nook Designs-blog voor meer inspiratie!
Geen opmerkingen:
Een reactie posten